Is your peace lily getting too big for its pot? These plants can grow quickly, and if you aren’t sure how to tell whether it needs repotting or you don’t know how to repot it when the time comes, you are in the right place.
Most peace lilies like to be repotted annually, but there are a few key signs that tell you if your plant is getting cramped. These include roots growing out of the drainage holes at the bottom of the container, or poking out of the soil at the top. You might also notice water draining through the container too quickly.
What Are The Top Signs That Your Peace Lily Needs Repotting?

Multiple signs tell you if your peace lily requires a bigger pot. You should keep an eye out for these because being kept in crowded conditions can stress your plant and may hamper its ability to grow. It might also stop it from producing flowers, and increases the risk of it getting dried out.
The key signs that your peace lily needs repotting include:
- Roots coming out of the drainage holes underneath the pot
- Roots protruding from the soil at the top of the pot, by the plant’s stems
- Water is draining through your plant’s pot much faster than you would expect
- Your plant constantly seems thirsty, even when you have given it water
- The soil looks dry and depleted
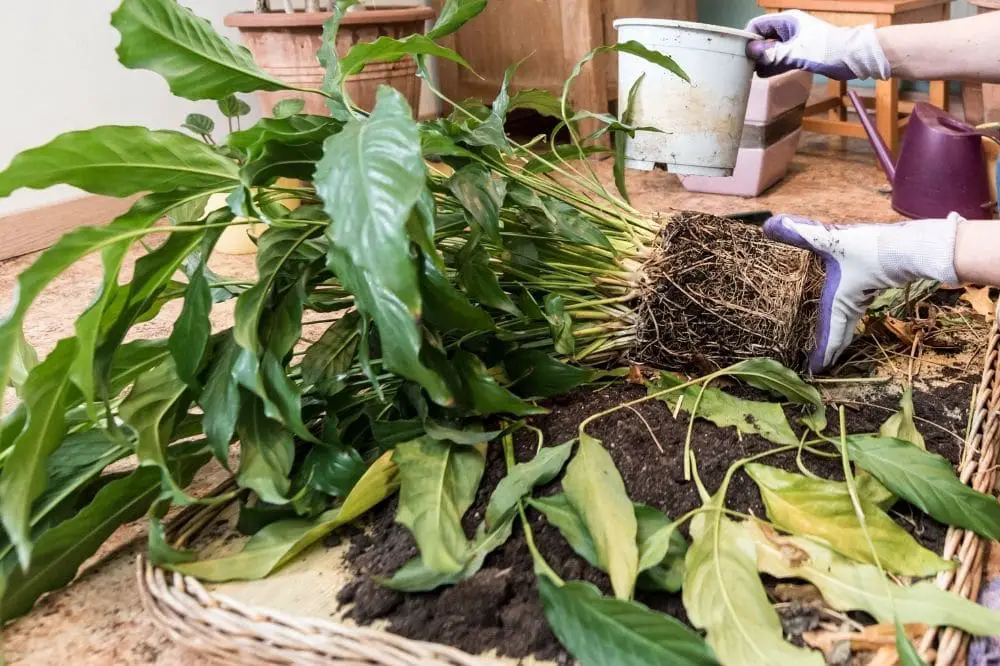
- If you take the plant out of its container and inspect it, you can see the roots are growing tightly together
These tend to be clear indications that your plant needs a new container, rather than signs of other issues. It is worth checking for them by doing things like lifting your plant pot to look for protruding roots from time to time. If you see any of the signs above, it’s time to repot your peace lily, but first, let’s explore these signs in more detail.
It is worth noting that peace lilies don’t mind being a bit root bound, so you don’t need to rush to get your plant into a bigger pot immediately. However, a heavily rootbound plant cannot absorb water and nutrients effectively and is likely to die if you don’t eventually give it more space.
Sign 1: Roots Appearing Through The Drainage Holes
This is one of the easiest signs to spot. You can simply lift your peace lily’s pot and inspect the underside.
If you can see roots protruding through the drainage holes, this indicates that the plant’s roots have hit the bottom of the pot and don’t have anywhere else to go, so they are escaping through the drainage holes.
Sign 2: Roots Sticking Out Of The Soil At The Top Of The Pot
Similar to the sign above, if the roots are growing out of the soil, that indicates that there isn’t enough room in the soil for them. They may be seeking additional space, water, nutrients, and oxygen.
This happens more rarely than the first sign, simply because roots tend to grow downward, not upward. If roots are coming out of the soil’s surface, the plant might be very rootbound.
Sign 3: Water Isn’t Staying In The Container For Long
When your plant’s container fills up with roots, the growing medium that usually absorbs the water gets pushed out, used up, or compacted to make space for the new roots. Roots are not nearly as absorbent as the soil is, so when you water the plant, there’s nothing to hold on to the water.
That means most of it will run straight out the bottom of the pot. Some may be trapped by the remaining growing medium or by the roots themselves, but a lot of it will just flow out.
This is a clear indication that the plant could do with a bigger pot.
Sign 4: Your Peace Lily Is Wilting Too Readily
This ties in with the above sign and is a direct result of it. If you feel like you are constantly watering your peace lily and yet it is always wilting, it is probably because the peace lily’s container isn’t holding enough water.
With no soil, the plant has no means of retaining water near its roots, so it will dry out quickly. You need to address this issue, or your peace lily is likely to die of thirst!
Sign 5: The Soil Looks Depleted
This one may not be such a clear sign, but it’s worth looking out for. If your peace lily has been in its container for a long time, it’s likely that the soil will take on a dry, tired appearance, because most of the nutrients have been used up.
It may become paler than normal, and will lack the rich, dark look of fresh compost. You may also notice that it has got compacted around the roots of the plant, which means your peace lily will be getting less oxygen.
Along with the other signs, this is a sure indication your plant needs new soil and more space.
Sign 6: The Roots Are Growing Too Close Together
Most plants want to spread their roots out so that they can maximize their efficiency. A widespread root network is better able to pick up water and nutrients for the plant, and it also serves as a better anchor.

If the roots of your peace lily are crowded together, it may be due to a lack of space in the container. Some peace lilies also just grow this way, wrapping around the bottom of the pot and following its curve, rather than spreading into the middle.
Regardless, this isn’t a good thing and you will need to gently break up the roots and repot the plant so that it has more space. You can check for this sign by loosening your peace lily in its pot, and then lifting it out so you can see its roots.
If you can’t see the roots because what you’re looking at is mostly soil, the plant probably isn’t rootbound. If you are faced with lots of tightly packed roots and only a small amount of compost, it’s time for a new container.
How Do You Repot A Peace Lily?
If all those signs are clear, then the next question is obvious – how do you go about repotting a peace lily?
Fortunately, this process is fairly straightforward, even if you have never done it before. Just follow the steps below, and your plant will soon have plenty of space again.
Step 1: Get A Suitable Container
The first thing you will need is a container to put your peace lily in. This should be about 1 or 2 inches larger than the previous pot. If your peace lily is very crowded in its current pot, you can go a little bigger, but since peace lilies prefer to be a little root bound, it’s best not to choose a massive container.
The container must have drainage holes at the base so that water can flow out of it. Make sure these are present and free from any blockages.
The pot should also be clean, so if you have used it before, consider giving it a good scrub with soapy water before you start. You can also disinfect it with vinegar or bleach, as long as you rinse it thoroughly afterward.
Step 2: Water The Peace Lily
You should give your peace lily a drink about an hour before you are ready to repot it. This helps to make the roots flexible and reduces the risk of breakages. It may also help it to settle into its new pot well. This step isn’t critical, but it can reduce transplant shock.
Step 3: Fill The Container
Choose a suitable potting medium for your peace lily. These plants like good drainage and good moisture retention, which can be a tricky environment to create.
A combination of coconut coir, peat moss, perlite, or loam with some ordinary potting compost can work well. Some people use some cactus mix or orchid bark to improve the drainage.
Fill the first few inches of the container with your chosen potting mix.
Step 4: Get Your Peace Lily Ready
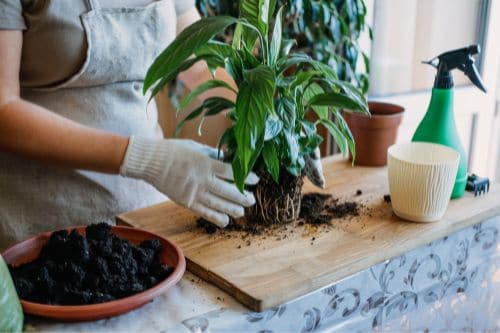
Lift your peace lily out of its current pot. If it is badly rootbound, this might be quite tricky, so work slowly to avoid unnecessary damage.
If your plant is in a plastic container, set the container on its side and gently flex the edges to loosen the soil. If it’s in a hard container, run a flat blade or some other tool around the rim of the container. This should help to loosen it. You can use more water if necessary, but that will make the process messier.

Once you have freed the peace lily, tip it out of its pot and inspect the roots. If they are tightly wound up around each other, you will need to break some to encourage them to grow outward in the new container. If you don’t do this, they might continue to grow in a tight ball despite the extra space.
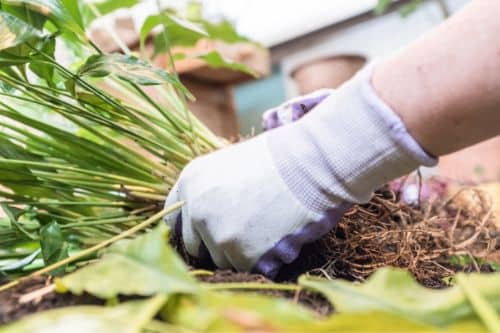
You can snap the roots with your fingers. Untangle any that you can without breaking them, and re-angle them so that they will point downward in the new pot. Break any that are stuck or tightly wound around others. It is better to do some damage at this stage than to have the roots not spread out properly in the new container.
If you are going to divide your peace lily, this is a good opportunity to do so.
Step 5: Add The Peace Lily To The New Pot
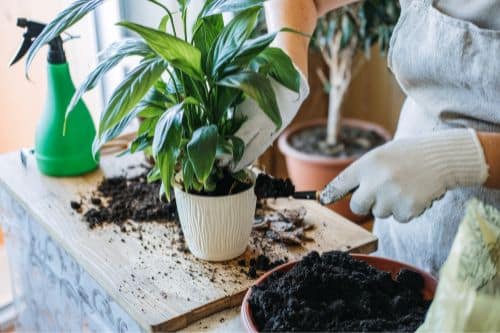
Lift your peace lily into its new container, and hold it upright while you tip the remaining potting medium into the container around it. If you can, get a friend or family member to help you with this part, because it can be tricky with only one pair of hands. You want to make sure the peace lily stays upright in the pot.

Once the soil is all in place, gently press down on it with your hands to make it firm and give the plant stability.
Step 6: Water The Peace Lily
Next, water your plant, preferably with some rainwater if possible. It is always a good idea to water plants after potting them because this helps to settle the soil around their roots and reduces transplant shock. You should water the plant until water comes out of the bottom of the pot.
You may then need to add a little more potting medium because the surface will probably sink a bit when you add the water. Simply top it up with more of the same mix.
Step 7: Allow The Plant To Recover
It is pretty common for a peace lily to wilt after it has been repotted. This is nothing to worry about, but you should put your plant somewhere that it can settle into the new pot with a minimal amount of stress.
Stand it in a shady spot, away from direct sunlight, and protect it from any temperature fluctuations during the next few days. Water when the soil has dried out a bit, and keep an eye on it. Don’t worry about a degree of wilting and limpness, especially if you have divided the plant or broken up a lot of its roots.
It should soon perk up and recover. Continue treating it gently and don’t fertilize it for at least a couple of months after repotting. That’s all there is to it!
Conclusion
Those are the 6 top signs that your peace lily needs repotting, plus some instructions on how to do this when the time comes! Don’t worry; the process is easy and your peace lily will grow much better when it has a bit more space in its container.
